TL;DR:
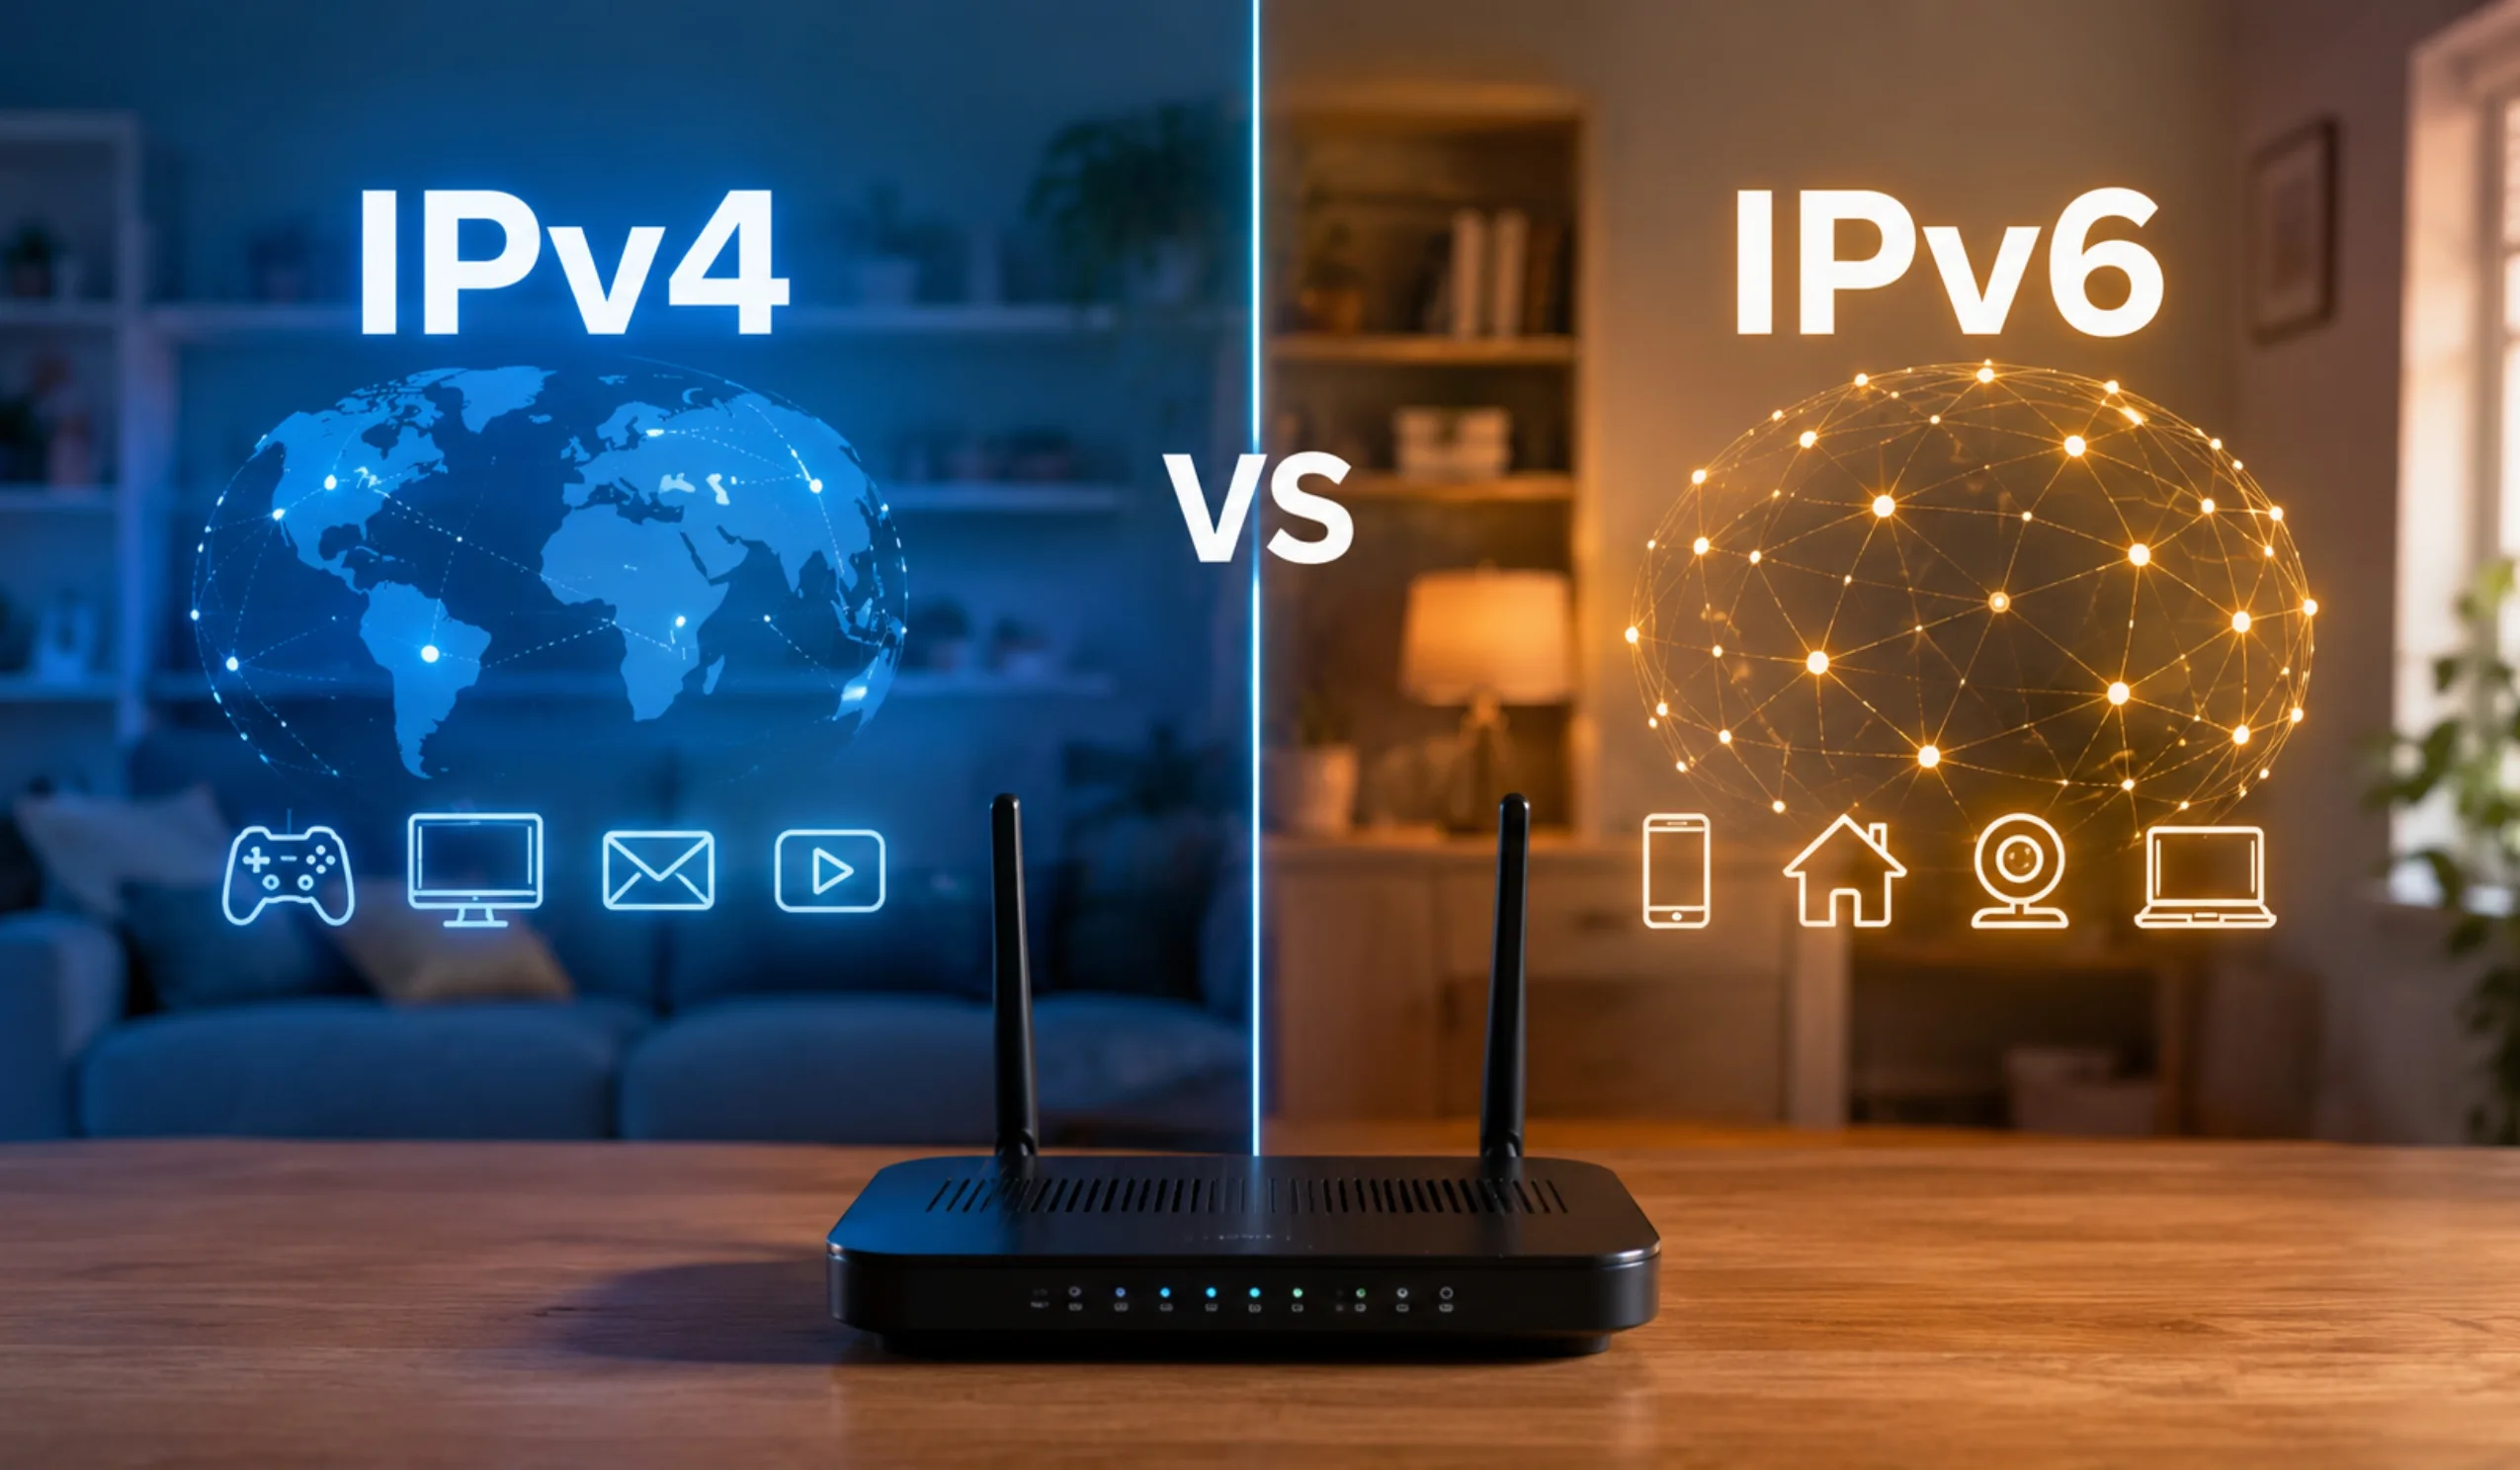
Why You Need a Guest Wi-Fi Network (Seriously)
Every time someone asks “What’s your Wi-Fi password?” and you give them your main network password, you’re handing them the keys to your entire digital home. That sounds dramatic, but think about what’s on your main network: your laptop with saved bank logins, your phone with personal photos, your smart doorbell, your NAS drive with family documents, your work computer. All of it.
When a guest connects to your main network, their device can potentially see and communicate with every other device on that network. Even if your friend would never snoop, their phone might be carrying malware they don’t know about. A single infected device on your main network can compromise everything else connected to it.
A guest Wi-Fi network solves this completely. It creates a separate, isolated connection that gives visitors internet access without any visibility into your personal devices. Think of it like a “digital waiting room” — comfortable and connected, but with the door to your office locked shut.
Accidental file access — guests may see shared folders, printers, and networked drives. Malware spread — an infected guest device can propagate viruses to every device on your network. IoT exploitation — smart home devices have weak security and can be accessed by anyone on the same network. Bandwidth hogging — a guest streaming or downloading large files can slow your connection.
Step-by-Step: How to Set Up a Guest Wi-Fi Network
Step 1: Access Your Router’s Admin Panel
Method A — Web Browser: Connect to your Wi-Fi, open a browser, and type your router’s IP address in the address bar. The most common addresses are:
Method B — Mobile App: Most modern routers have companion apps (TP-Link Tether, ASUS Router, Netgear Nighthawk, Linksys, Google Home, eero). Download the app, log in, and navigate to Wi-Fi settings. This is usually the easier method.
Log in with your admin credentials. If you’ve never changed them, check the sticker on the bottom of your router — the default username/password is printed there.
Step 2: Find and Enable the Guest Network
Look for a section labeled “Guest Network,” “Guest Wi-Fi,” or “Guest Access” in your router settings. Most routers made after 2018 have this feature built in.
Toggle the guest network to ON. Your router will create a separate SSID (network name) — typically it adds “-Guest” to your existing network name. You can customize this to whatever you want.
Step 3: Set a Strong Guest Password & Encryption
This is the most important security step. Set the encryption to WPA3 if your router supports it (all Wi-Fi 6 and newer routers do). If WPA3 isn’t available, use WPA2-AES. Never use WPA, WEP, or leave it as an open network.
- Different from your main Wi-Fi password — this is the whole point of having a guest network
- Easy to share but hard to guess— something like “Welcome2OurHome!” works well
- Changed regularly— swap it every few months or after large gatherings
- Don’t use your address, birthday, or “password123” (yes, people still do this)
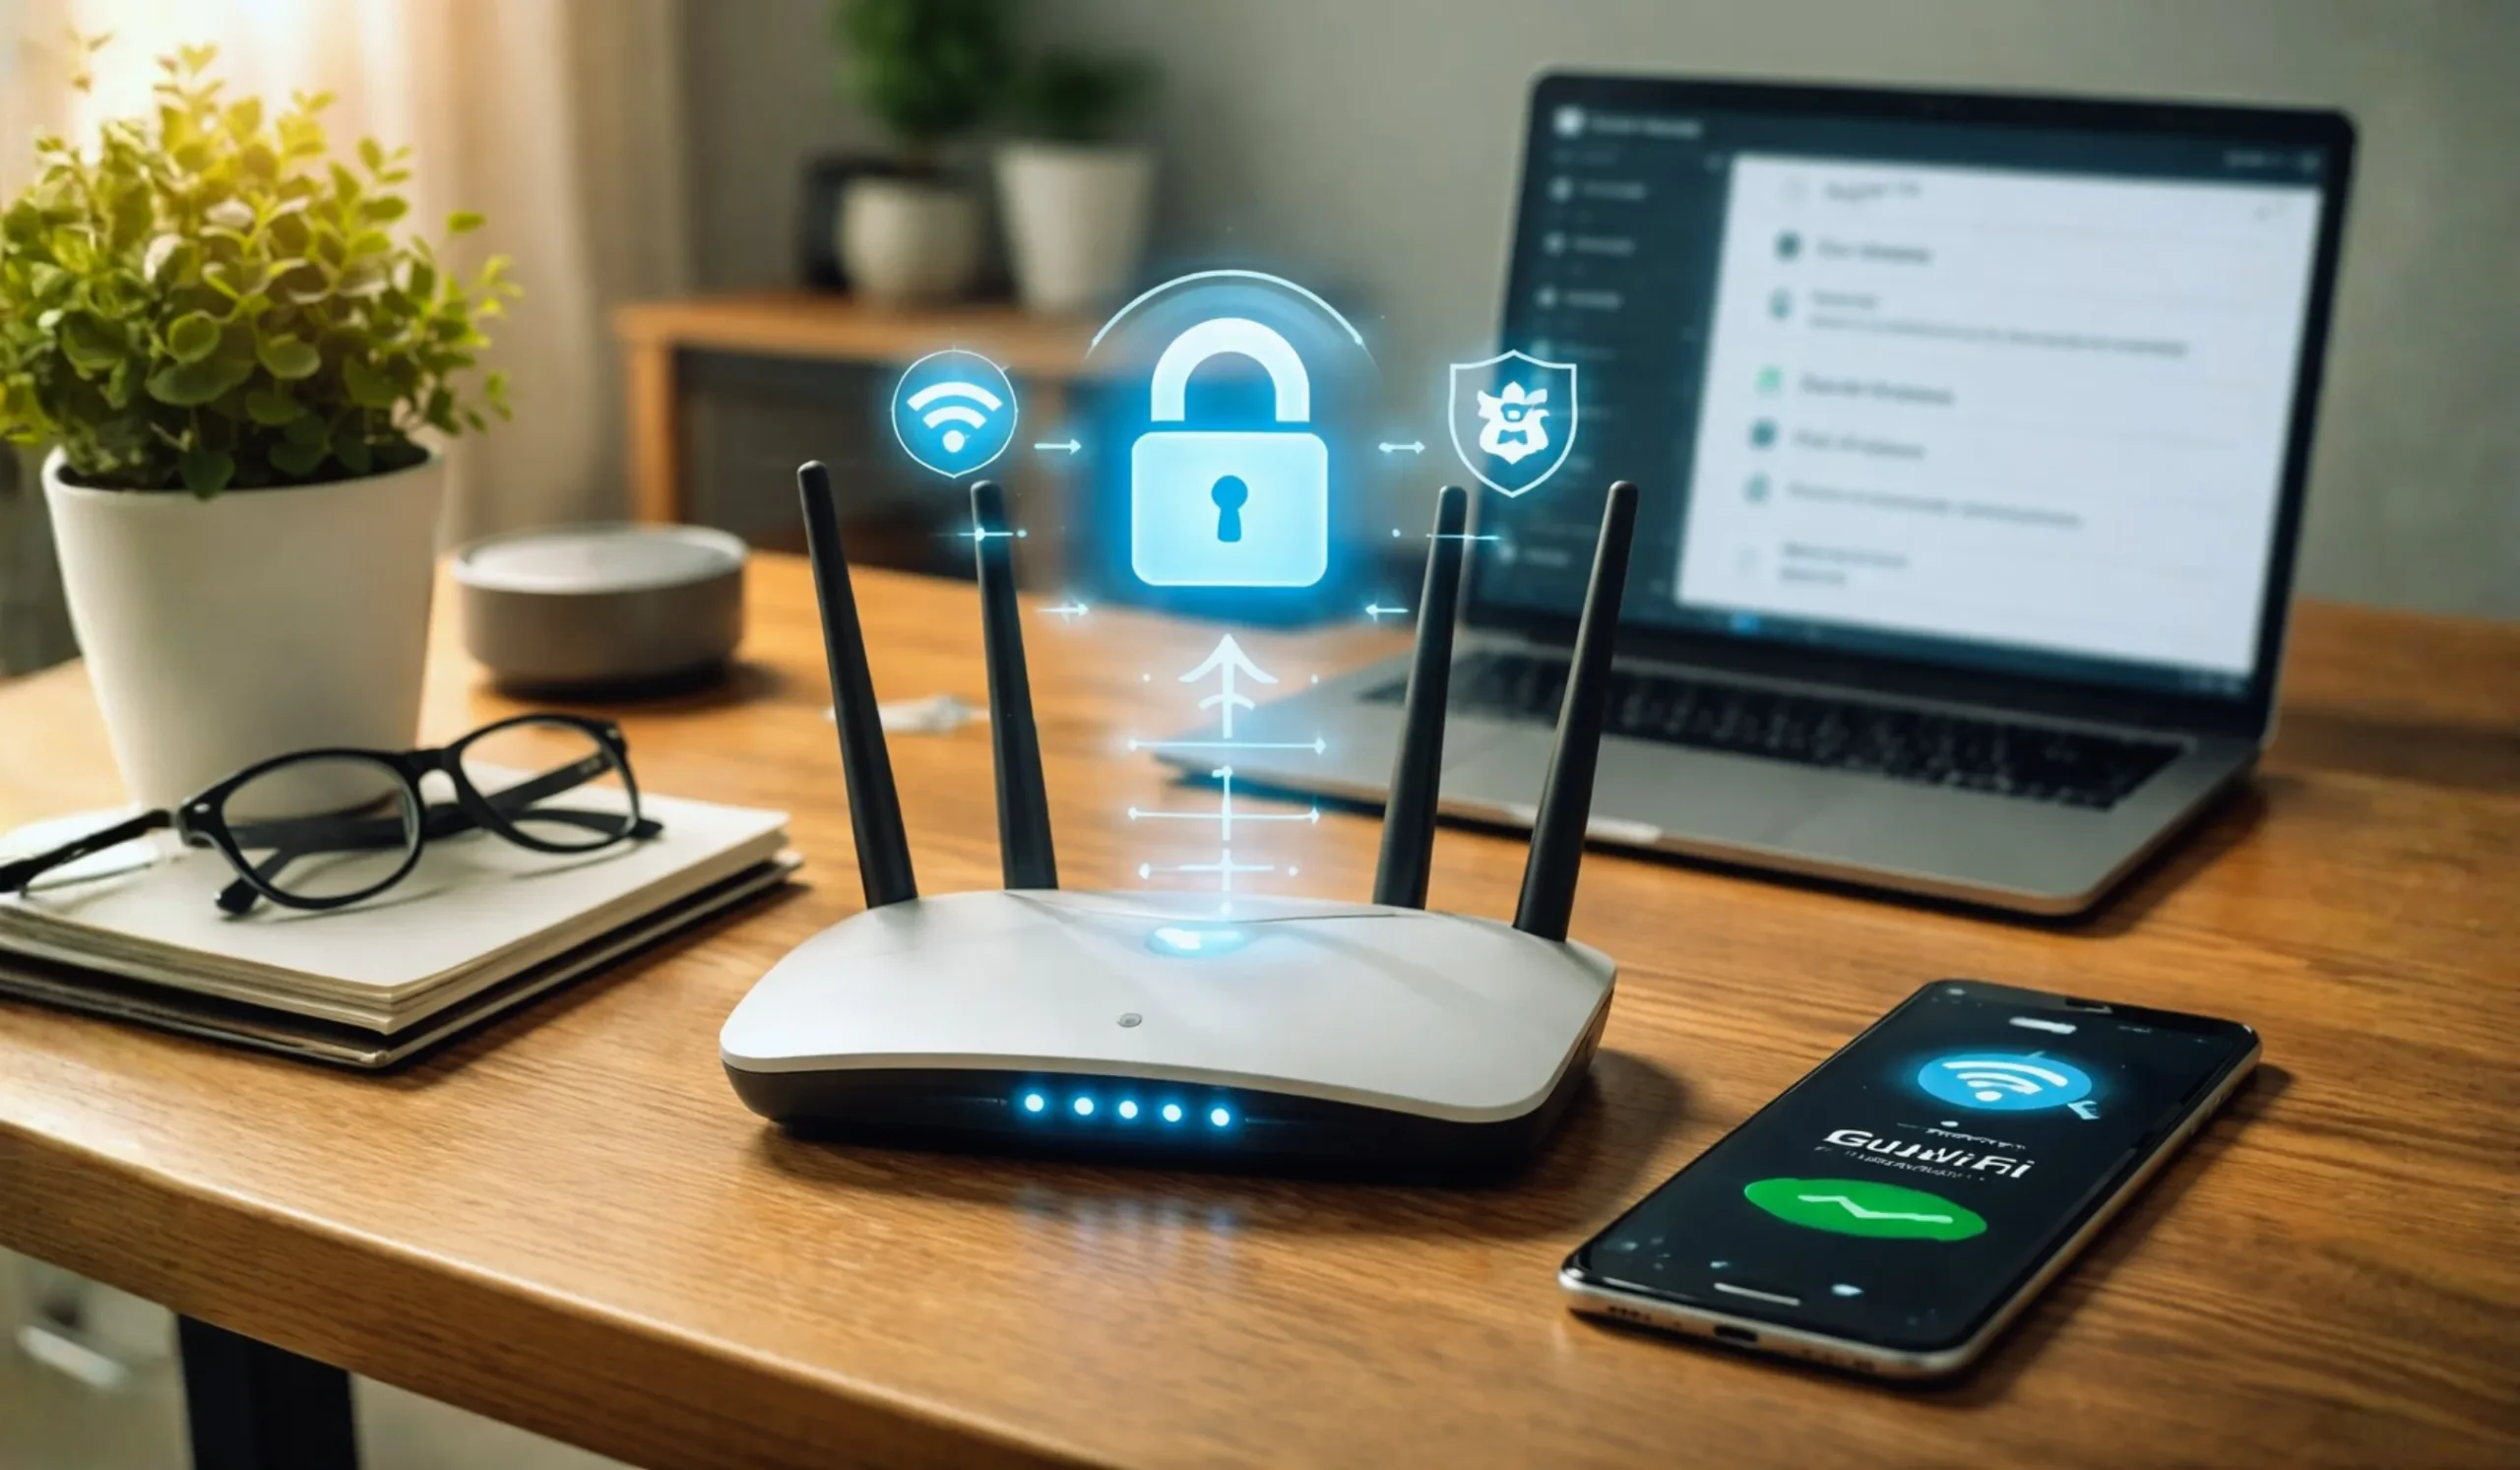
Step 4: Enable Network Isolation (Critical!)
This is the setting that actually makes your guest network secure. Network isolation (also called “AP isolation,” “client isolation,” or “access intranet off”) prevents guest devices from seeing or communicating with devices on your main network.
Without this enabled, your guest network is just a second Wi-Fi name — it doesn’t actually protect anything. Make sure this toggle is ON. It’s usually found under advanced wireless settings or the guest network configuration page.
Some routers also offer client-to-client isolation, which prevents guest devices from seeing each other too. Enable this if available — it stops one guest device from attacking another.
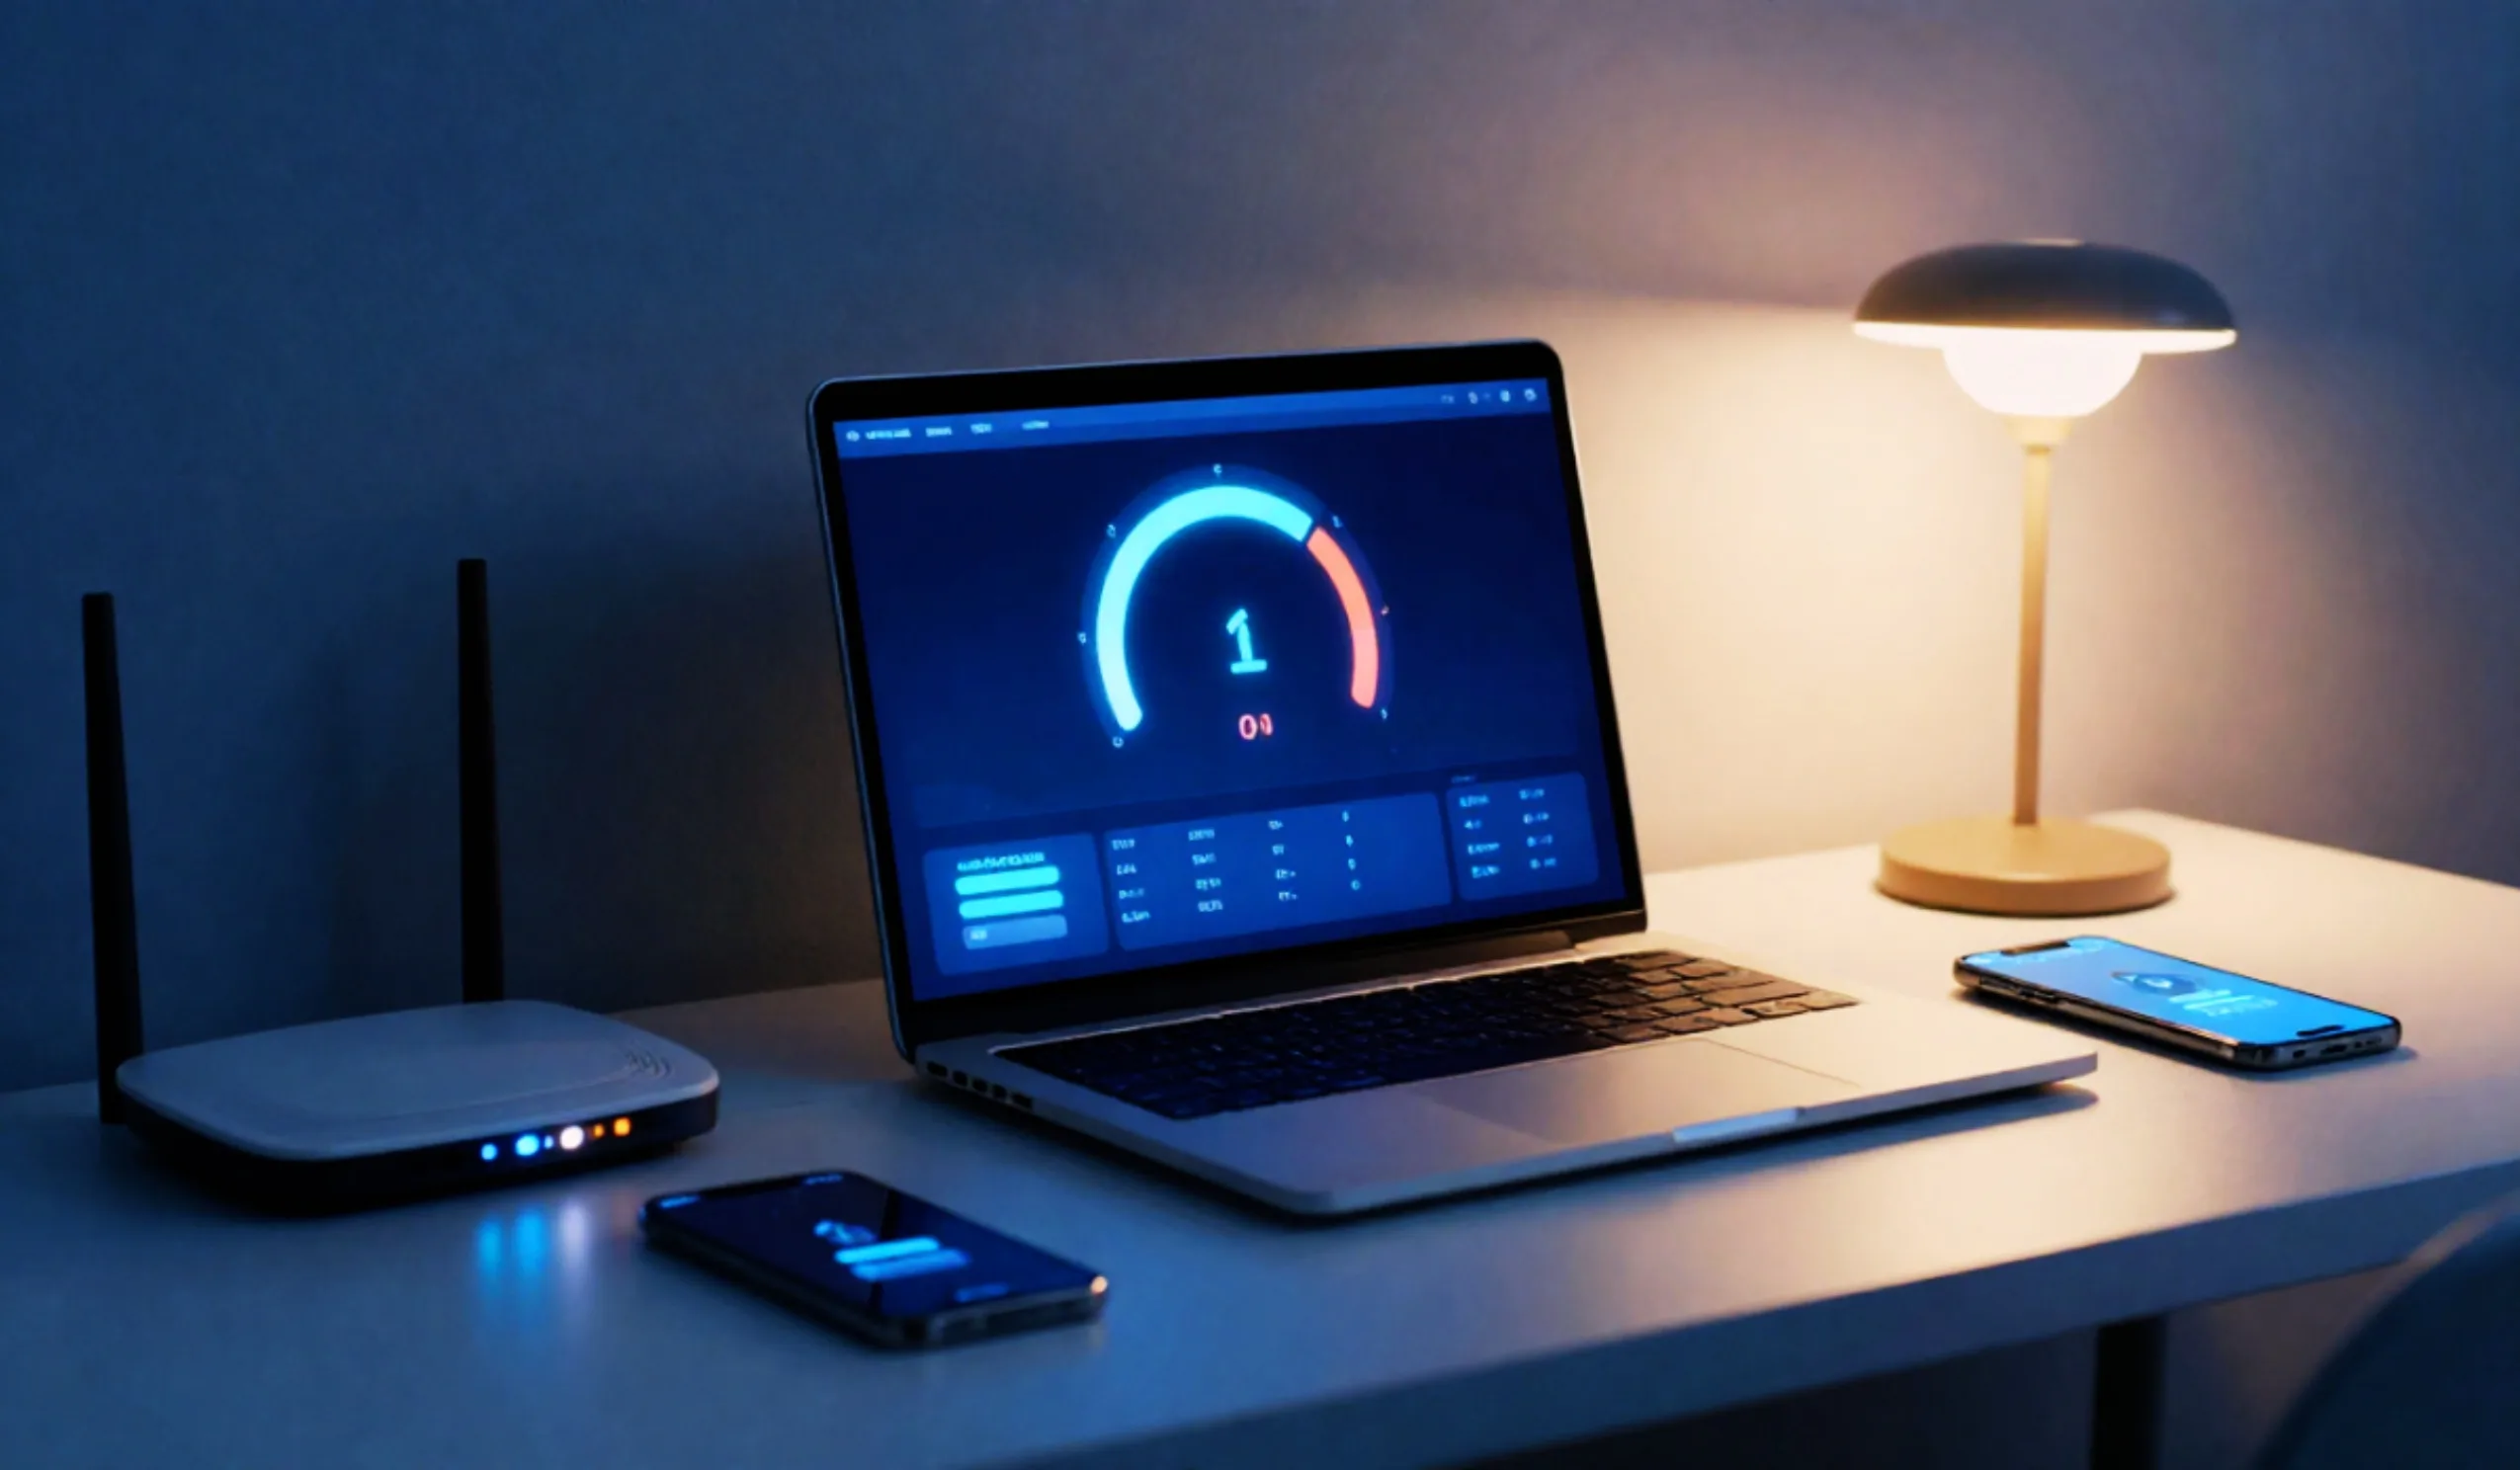
Step 5: Set Bandwidth Limits (Optional but Smart)
Most routers let you cap how much bandwidth the guest network can use. This prevents a visitor from hogging your entire connection with a massive download while you’re on a work video call.
A good rule of thumb: allocate 25–40% of your total bandwidth to the guest network. If you have a 500 Mbps connection, capping guests at 100–200 Mbps gives them plenty for streaming and browsing while keeping the majority for your household.
Step 6: Create a QR Code for Easy Sharing
In 2026, the best way to share your guest Wi-Fi password is with a QR code. Visitors just scan it with their phone camera and connect instantly — no typing or dictating long passwords.
You can generate a free Wi-Fi QR code at qifi.org or using your phone (iPhone: Settings → Wi-Fi → tap your network → Share → QR code; Android: Settings → Wi-Fi → tap your network → Share). Print it and display it in a frame near your front door or on the fridge.
Smart plugs, light bulbs, thermostats, and security cameras are the weakest security links in your home. Many IoT devices have poor security, rarely get firmware updates, and can be exploited as entry points to your network. By putting them on the guest network (with isolation enabled), a compromised smart bulb can’t reach your laptop, phone, or NAS drive. This is one of the best free security upgrades you can make in 2026.
Wi-Fi Security Protocols: What to Choose
When configuring your guest network encryption, here’s what each protocol actually means and which one to use:
| Protocol | Year | Security Level | Status in 2026 | Use for Guest Network? |
|---|---|---|---|---|
| WPA3 | 2018 | Excellent | Gold standard — use this | Yes — best choice |
| WPA2-AES | 2004 | Good | Still acceptable with strong password | Yes — good fallback |
| WPA2/WPA3 Mixed | — | Good | Backward-compatible transition mode | Yes — for older devices |
| WPA-TKIP | 2003 | Weak | Deprecated — don’t use | No |
| WEP | 1997 | Broken | Crackable in seconds — replace router | Never |
| Open (No password) | — | None | Anyone can connect and sniff traffic | Never |
How to Enable Guest Wi-Fi on Popular Routers
The exact steps vary by brand, but here’s a quick-reference guide for the most common router brands in 2026:
Open the Tether app or go to tplinkwifi.net → Tools → Guest Network → Enable → Set SSID, password, and toggle “Allow guests to see each other” to OFF.
Open ASUS Router app or go to router.asus.com → Guest Network tab → Enable → Set name, auth method (WPA2/WPA3), and enable “Access Intranet: Disable.”
Open Nighthawk app or go to routerlogin.net → Wireless → Guest Wi-Fi → Enable → Set SSID, security, and check “Allow guests to see each other” is OFF.
Open the Google Home or eero app → Wi-Fi → Guest Wi-Fi → Toggle ON → Set network name and password. Isolation is enabled automatically.
Open the Xfinity app → Wi-Fi → View WiFi Equipment → “xfinitywifi” guest hotspot can be toggled. For private guest: Advanced settings → Guest Network.
Open Smart Home Manager app → Wi-Fi → Guest Wi-Fi → Toggle ON → Customize name and password. Or access 192.168.1.254 via browser.
Open My Spectrum app → Services → Internet → Your Network → Set up Guest Network → Choose name and password.
Open My Fios app → Internet → My Networks → Guest Wi-Fi → Enable → Set network name and password.
Guest Wi-Fi Security Checklist
Once your guest network is set up, run through this checklist to make sure everything is locked down properly:
- Guest network uses a DIFFERENT password from your main network
- Encryption is set to WPA3 or WPA2-AES— never WPA-TKIP, WEP, or open
- Network isolation is ENABLED— guests can’t see your devices
- Client isolation is ENABLED— guest devices can’t see each other
- Access to local network/intranet is DISABLED— guests get internet only
- Router admin panel password has been changed from default
- Router firmware is up to date— check for updates monthly
- Remote management is DISABLED— unless you specifically need it
- UPnP is DISABLEDon the guest network — prevents port exploitation
- Bandwidth limit is configured— cap guest usage at 25–40% of total speed
- QR code is created and displayedfor easy guest access
- IoT devices moved to guest network— cameras, smart plugs, thermostats
What to Do If Your Router Doesn’t Have Guest Wi-Fi
If your router is older and doesn’t support guest networks, you have three options:
Option 1: Update your router firmware. Some older routers gained guest network support through firmware updates. Check your manufacturer’s website for the latest firmware version. This is free and takes about 10 minutes.
Option 2: Call your ISP and ask for a newer router. Most providers will upgrade your gateway for free or for a small fee. Providers like AT&T (855-550-2535), Spectrum (833-949-0036), and Verizon (1-800-VERIZON) regularly issue updated equipment with guest network capabilities and WPA3 support.
Option 3: Buy a modern router. A Wi-Fi 6 router with WPA3 and guest network support starts around $50–80 (TP-Link Archer AX21 is a solid budget pick at around $60). Wi-Fi 7 routers with advanced guest features start around $100. Every Wi-Fi 6 and Wi-Fi 7 router includes guest network as a standard feature.
Our Verdict
Setting up a guest Wi-Fi network is one of the easiest and most impactful security upgrades you can make to your home network — and it costs nothing. It takes 10 minutes, protects every device you own, and makes you a better host (no more awkwardly dictating a 20-character password).
The golden rules: use WPA3 encryption (or WPA2-AES if WPA3 isn’t available), enable network isolation, set a separate password, and put your IoT devices on the guest network. Do these four things and your home network goes from “front door wide open” to “properly secured” in the time it takes to brew a cup of coffee.
If you’re unsure about any setting, call your ISP’s support line — they’ll walk you through it for free. AT&T at 855-550-2535, Spectrum at 833-949-0036, or Verizon at 1-800-VERIZON can help you get it done on the first call.
Frequently Asked Questions
Not by itself — creating a guest network doesn’t split your bandwidth in half. The network only uses bandwidth when someone is actively connected and using it. If nobody’s on the guest network, it consumes zero resources. You can also set bandwidth limits to ensure guests don’t hog your connection. With a modern router, running multiple SSIDs (network names) has virtually no performance impact.
No — as long as network isolation is enabled (Step 4 in our guide). With isolation on, the guest network and your main network are completely separated. Guests can access the internet but cannot see, communicate with, or access any device on your main network. This includes your computers, phones, NAS drives, printers, and smart home devices. That’s the entire point of having a guest network.
Always use a password. An open (no password) guest network means anyone within Wi-Fi range — including strangers walking by — can connect and use your internet. This creates legal liability (if someone does something illegal on your connection, it traces back to you) and security risks. Use a simple but unique password and share it via a QR code displayed in your home. It’s the perfect balance of convenience and security.
For most households, changing it every 2–3 months is plenty. If you host a lot of visitors (like running an Airbnb or having frequent parties), change it after each guest or event. Some routers let you set time-limited access that automatically expires after a set period (24 hours, for example), which is even better — guests get disconnected automatically and you never have to manually rotate the password.
WPA3 is the latest Wi-Fi security protocol (released 2018, now the gold standard in 2026). It uses stronger encryption, protects against brute-force password guessing, and secures each connection individually. All Wi-Fi 6 (802.11ax) and Wi-Fi 7 (802.11be) routers support WPA3 — if your router was bought after 2020 and supports Wi-Fi 6, you almost certainly have WPA3 available. Check your router’s wireless security settings to confirm. If it only shows WPA2, try updating the firmware first.
Absolutely — and we strongly recommend it. Smart home devices (cameras, smart plugs, thermostats, robot vacuums) often have poor built-in security and rarely receive firmware updates. They’re the most common entry point for hackers targeting home networks. By placing them on the guest network with isolation enabled, even if a device gets compromised, the attacker can’t reach your computers or phones on the main network. Most IoT devices only need internet access (not local network access), so they work perfectly fine on a guest network.
Three options: First, call your ISP and ask for a router upgrade — most providers will send a newer model with guest Wi-Fi support for free or a small fee. Call AT&T at 855-550-2535, Spectrum at 833-949-0036, or Verizon at 1-800-VERIZON. Second, update your current router’s firmware — some gained guest network support through updates. Third, buy your own Wi-Fi 6 router (around $50–80 for a solid model like the TP-Link Archer AX21) and connect it to your ISP’s modem. Every modern router includes guest network features.
In consumer routers, the guest network is a simplified version of VLAN (Virtual Local Area Network) technology. It creates a separate subnet that’s isolated from your main network at the router level. Enterprise networks use full VLAN configurations with more granular control, but for home use, the guest network feature provides effectively the same result — complete network segmentation between your devices and guest devices. For the vast majority of homes, the built-in guest network feature is all you need.
Last updated March 2026. Router interfaces and features vary by model, firmware version, and ISP configuration. Steps described are general guidelines — your specific router may have slightly different menu names or locations. Phone numbers listed connect to ISP support teams who can assist with guest network setup on their provided equipment. Always ensure your router firmware is up to date before configuring security settings.